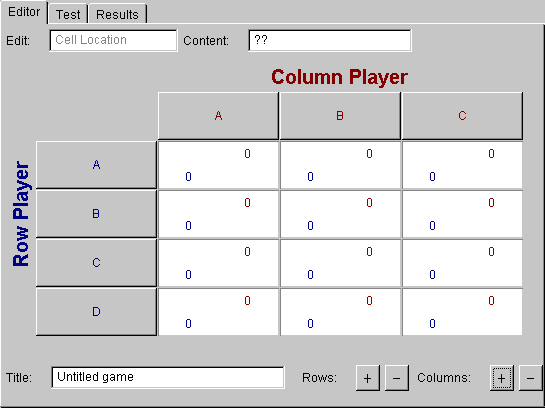
There are three buttons: ![]() on
the strategic form game window.
on
the strategic form game window.
- Click
 to create a new
game or update an existing game in strategic form:
to create a new
game or update an existing game in strategic form:

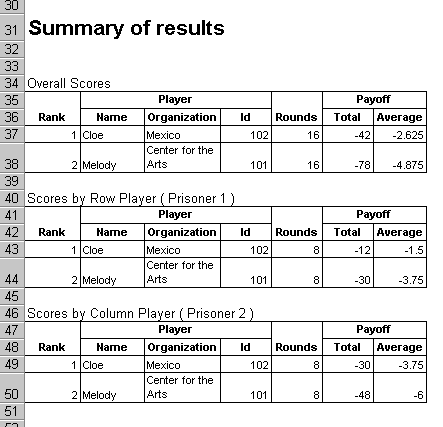
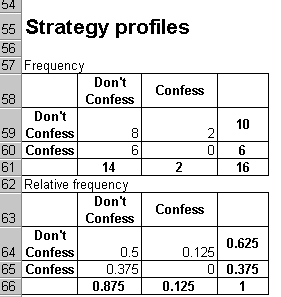
- Click
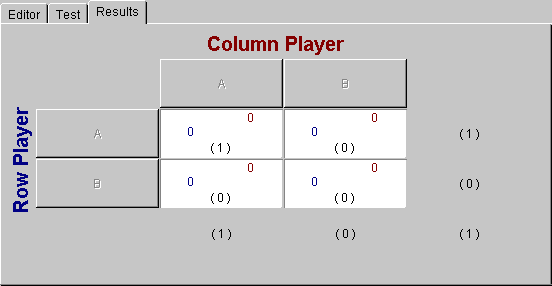
 to view the
frequency with which cells are selected by subjects during the
session.
to view the
frequency with which cells are selected by subjects during the
session.
INSTRUCTIONS FOR DESIGNING GAMES
There are three buttons:
|
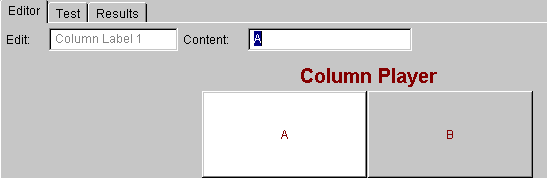
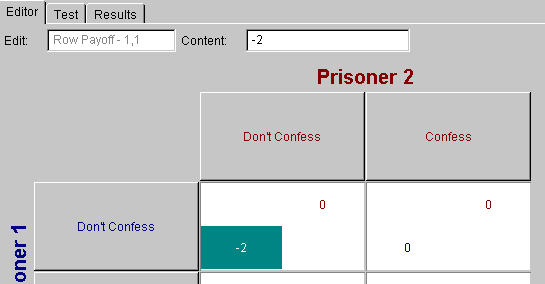
To rename a strategy, click its name in the Content cell:
In our example the strategy of the column player is highlighted, and automatically brought into the Edit mode:
at the top of the panel. Write a new name in the Content cell:
and press return, or click another strategy to be renamed.
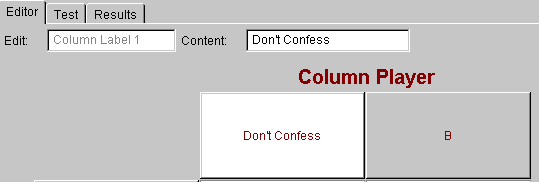
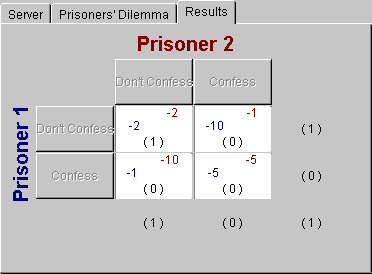
The strategy previously labeled A for the column player has been changed to Don’t Confess by writing Don’t Confess in the Content cell. |
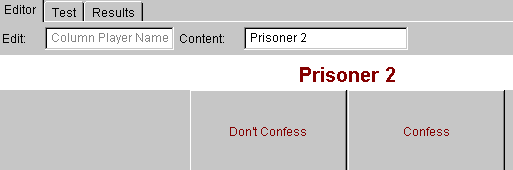
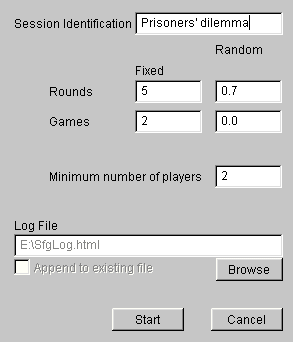
Write the name of the game in the Title cell.
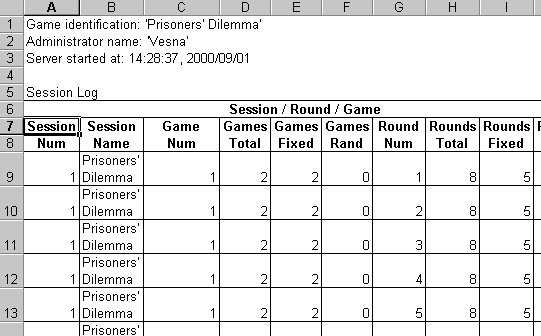
This information will appear when server is run as in the example below, and also in the output file.
|
|
|
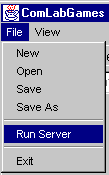
To run an experiment follow, the procedure described below:
|
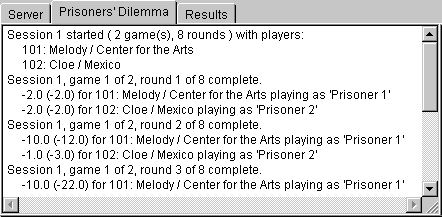
The moderator follows the game on the window that opens after clicking "Start":
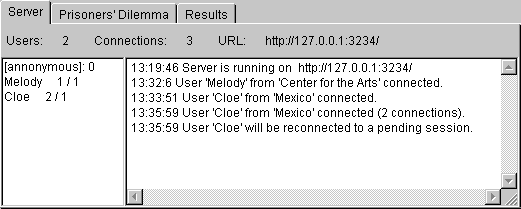
The three buttons: Server, the Game, and Results monitor different features of the session.
|
|
|
|
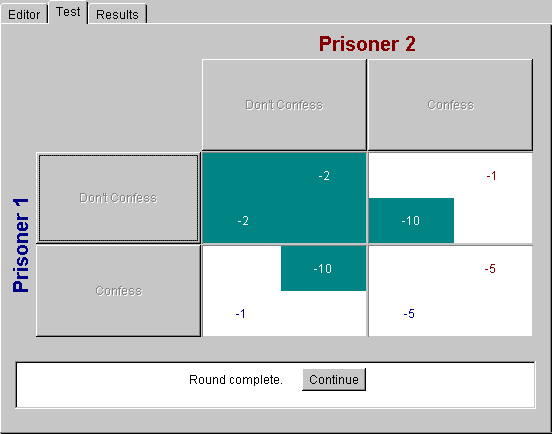
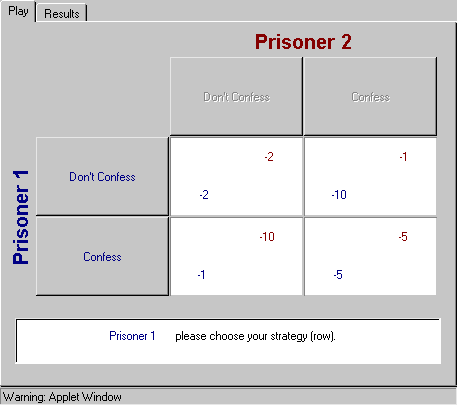
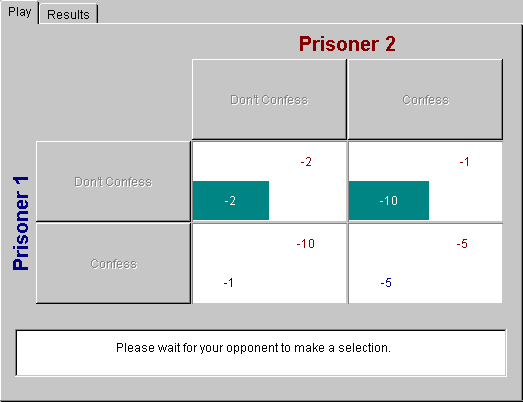
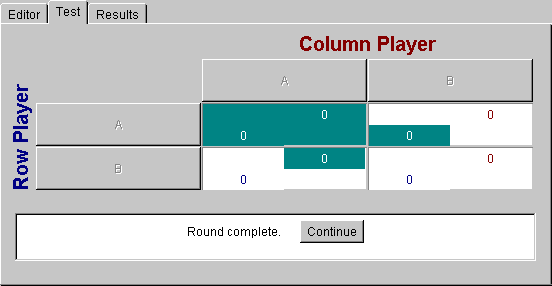
Subjects should click on the cell or labels to select the strategy. The Row player strategies are always colored in blue, and the Column Player strategies are always colored in red. If a subject is assigned to be a row player the column labels are disabled, and vice versa. When a subject makes a choice the row/column is highlighted:
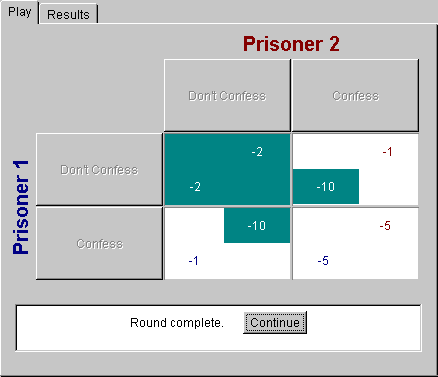
When both subjects make a choice, the cell that is the intersection of the selected row and the selected column is highlighted in green:
|
|
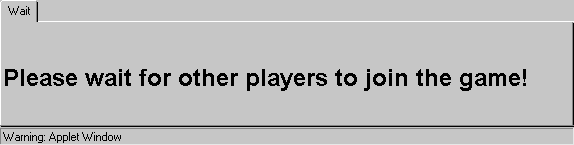
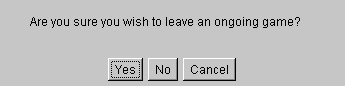
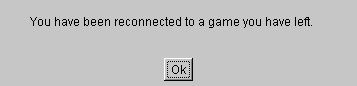
If a subject is disconnected from the game, he or she receives
the following message:
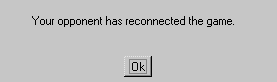
and the matched subject who waited receives the following message:
|
|
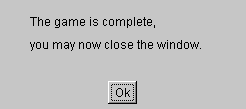
When the game is over, the following message appears:
|